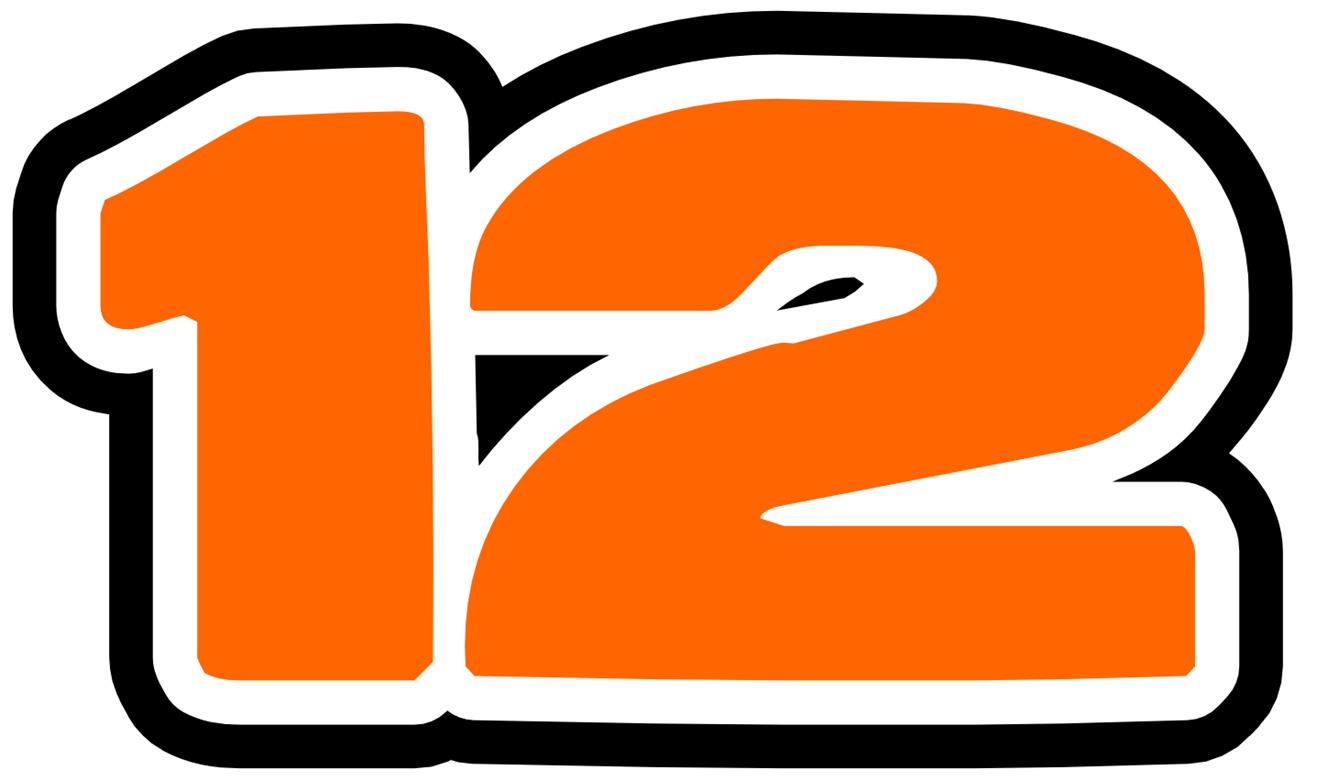
Again referencing my sessions with Dan this weekend, when we made the numbers for his racecar we used a font that actually had some bumps in the sides of the letters. These indentations looked to us like they did not belong there. (The font was ReservoirGrunge by the way) We found this surprising as this was a commonly used font. We liked the way the font looked so we decided to fix the artwork. First we made the three offsets for the layered artwork. Next, we converted the font to strokes using the command, Path, Object To Path. There are many objects in InkScape like rectangles, Stars, Text, etc. that are not editable until you convert them to paths. Once we converted the text to paths we are able to use the node edit tool on the characters. The node edit tool is the tool just below the arrow on the top left sidebar menu. Clicking this tool and then double clicking on the numbers (or other artwork) you will see the nodes appear. Zooming in to where the deformities are in the artwork you will see the nodes that are out of place. If you select the node it will change color to a dark blue. If you hit the Delete key the node will be deleted and the line or curve will flatten out. Nodes serve as an inflection point in the curve so when they are deleted, the curve flattens out to the two next adjacent nodes. Alternatively, you can click and drag the node until it is in the location you prefer. If you zoom back out, you will be able to see the impact of your edits.
TIP – Zooming in and out is best done in InkScape by holding down the control key on your keyboard and rolling the mouse wheel. The zoom centers on where your mouse is pointed. To easily pan, zoom out, move your cursor to the place of interest and then zoom in.
Please contact us at CutterPros.com if you have any questions regarding node editing of your artwork. Cleaning up images is sometimes the most time consuming part of the vinyl cutting process.
Dan’s Racecar Numbers, Posted With Permission:


Leave a Comment
You must be logged in to post a comment.